Sometimes, as part of your campaign strategy, you'll be asking your customers and prospects to complete web forms. This gives you the opportunity to learn more about your customers and their feelings towards your business. One nice feature of Horizon forms is that, when someone completes one, you can notify members of your team. This knowledge base article covers how you'd setup such notifications.
Create and personalise the content of a notification message
First you'll need to create a new message (Content > Add new message content). You can add in any details you wish (e.g. Someone just completed the Satisfaction survey) and add some personalisation.
You can include smart inserts in the message. This gives you the ability to populate the email with contact data. You can insert a smart insert for any of the contact fields, including custom fields.
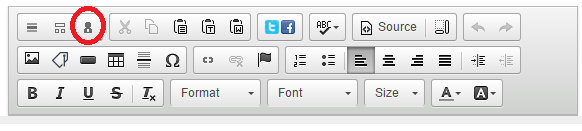
To do this, click the 'Smart insert/Merge tags' icon in the editor toolbar.
The smart insert window will open.
Here you can select the smart insert you'd like to add to your content. Selecting 'Contact' from the 'Select group type' will give you access to the contact data. You can use the 'Select group' dropdown to use other fields of data e.g. your custom fields.
If you wish, you can add other data too such as group info and merge tags.
Press 'Select' next to the field you want to add. This will insert the smart insert into your content and bring you back to the message.
These tags will be replaced with the details of the contact to whom the email was sent.
For notification emails, you more than likely want to include the details of the person who has completed the form rather than the recipient of the content.
To do this, you need to add "FORM." at the front of the Smart Insert tag and after the first %. For example, using %FORM.FIRSTNAME% will get the first name of the contact who filled out the form.
Adding a notification message to a form
Adding a notification message is done from the web form creator. To get to the web form creator, right-click your form and select 'Edit form'
or double-click a form button. Select the form submit button.
Clicking on the '...' button in the Notification input box will open up your existing list of messages and allow you to select which you'd like to use as your notification message.
Specifying the recipients of a notification message
Once you've select your notification message it's time to select which group you want to receive it. In the above example, the members of this group will receive the notification everytime someone clicks the submit button on the form.
To do this simply select the '...' button in the Recipients input box. This will open up the following page allowing you to select which group you want to receive the notification.