Horizon makes it easy to create interactive "smart" forms and embed them within pages on your own website. They can be used to capture sales enquiries, run competitions and surveys or all kinds of other purposes.
One of the most powerful features of Horizon landing pages is that all information you collect through them is fed straight back into your contact database, so there's no manual data entry.
In Horizon, embedded forms are just one type of "publication". You can also use Horizon to publish other kinds of content.
How to create an embedded form
- Go to the Content tab, then select 'Publication content' from the left-hand menu.
- Click the green 'Add new publication content' button.
- Give your publication a name and optionally some comments to describe its purpose. Try to use a consistent naming scheme for your publications, to make it easy to find them again in future.
- Select a publication template (if you've created one) as the starting point for your web landing page or follow steps below.
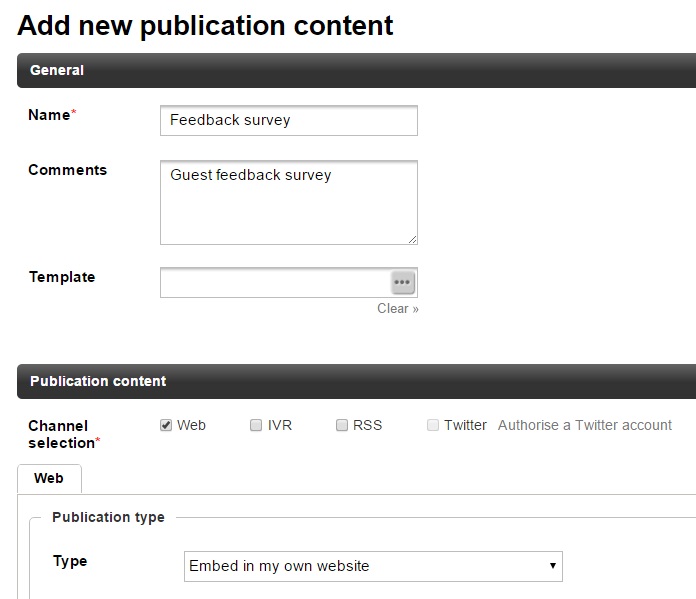
- Tick the "Web" channel selection. You can create a publication that uses more than one channel if you want to.
- Make sure that "Embed in my own website" is selected as the publication type. This tells Horizon that you want to create an embedded form.
- If you want to require subscribers to log in with a username and password to view the landing page, tick the "Requires authentication" tick box, otherwise leave it blank.
- Go to the 'Content' section. Here you can create and edit the individual pages that make up your embedded form; for example a first page containing the form itself and a separate "thank you" page that will be shown when someone submits the form.
- Give your default page a meaningful title; this will be visible in your Google Analytics if Google Analytics integration is enabled in Horizon.
- Select a web page layout as the starting point for your page design. You can use a different layout for each page of the form if you want to. It's best to use a web page layout that has been designed for embedded forms. Please contact us if you're not sure what to use and we'll help to set this up.
- If you want, change the theme. The theme contains the styling (the CSS) for your message, e.g. the default font or the default colours. If you'd like a custom theme that matches your website branding, let us know.
- Add your "thank you" page and any other required pages by clicking the green 'Add new page' button. Horizon embedded forms can include many pages, making it possible to create surveys and other complex workflows.
- Repeat the steps above for each page.
- Go back to the first page of your publication using the tabs at the top of the 'Content' area, and click into an editable area where you'd like to add the form.
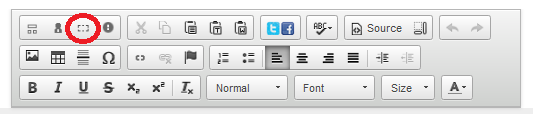
- Click the "Insert / Edit Form" icon in the editor toolbar:
- The Horizon web form creator will appear. Initially it will show a blank form (on the right hand side):

- Add whatever data fields, text and other features you need. Start by selecting a set of fields using the drop-down list at the top-left of the web form creator, then you'll see a listing of the related fields to select from.
- You can edit each data field, such as making it mandatory, read only or changing the text. To do so, click the field within the form preview window on the right-hand side. You'll then see what options you have on the left-hand side. Make any changes and click the green 'Apply' button on the left hand side.
- A important field to edit is the email data field. Once added, click to select it from the form preview window. On the left-hand side, you'll see the 'Should be unique' option. When this is ticked, this means that only one contact can use the email address entered. If someone submits the form, but they already have a contact with that email, it will update that contact record instead. This ensures you don't have duplicate contacts. Once ticked, make sure you click the 'Apply' button underneath.
- Once you have selected all the fields you want on your form, add a "Submit button"; You'll find it in the "Form tools" area at the bottom-left of the web form creator.
- Click on the Submit button in the form preview area to show the button properties:
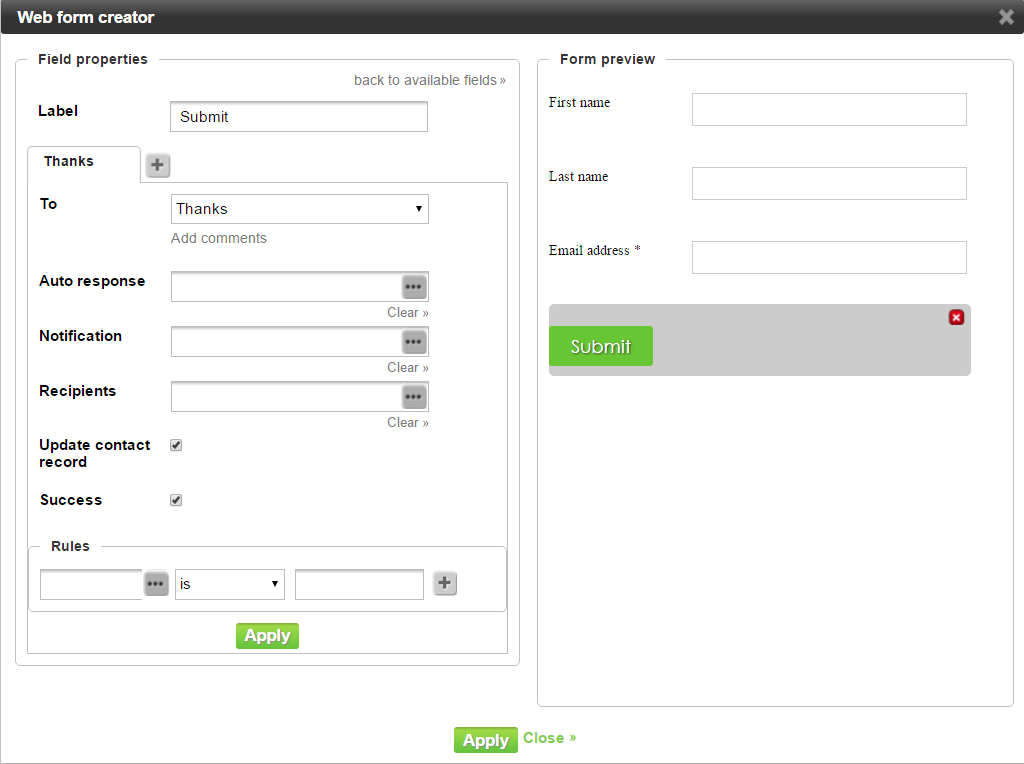
- Change the default label on the button if you'd like to, so that it reinforces the action that you'd like people to take when they visit the landing page. E.g. "Download now!" or "Get this offer".
- Select your "thank you" page from the "To" drop-down list. This tells Horizon that the "thank you" page should be displayed when the visitor clicks the Submit button. If you have multiple pages, select the appropriate page to go to next.
- If you'd like to send an auto-responder message to the contact when they click the Submit button, click the '...' icon to the right of the Auto response field, then select the message that you'd like to send.
- If you'd like to send a notification message to yourself and/or your colleagues when a contact clicks the Submit button, click the |...| icon to the right of the Notification field and the Recipients field to select the message and a group of contacts to send it to. You can use this to send yourself survey results as soon as a customer completes the survey. To find out how to do this, see Receiving survey results by email
- Ensure that the "Update contact record" box is ticked, so that the submitted form data will be stored in the Horizon contact database.
- If you want this form submission to be counted as "Success" in your campaign, tick the "Success" box.
- Click the green 'Apply' button on the left of the web form creator, just below the "Rules" section in order to apply these settings to your Submit button.
- Click the green 'Apply' button at the bottom of the web form creator to save the form and return to the publication content screen.
- Click the green 'Save' button at the bottom of the screen.
- Create a new campaign and add this publication in the "Everyone" section of the campaign builder. For more information on creating campaigns see Creating a new campaign.
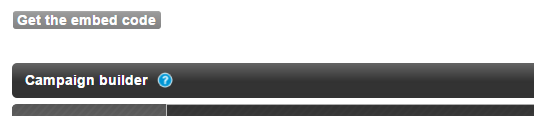
- Click the grey 'Get the embed code' button. You'll be asked whether you want the publication to be shown as a pop-up message or embedded in a web page. Select "Embed"
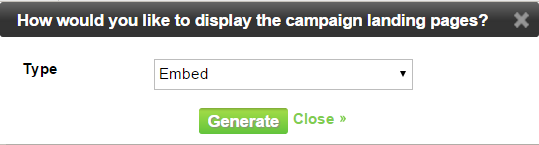
- Click the 'Generate' button.
- Copy-and-paste the provided "embed code" into your web page exactly as it's shown.
Note: You may need to configure the page in your website content management system so that it doesn't alter the HTML code. - Click 'Close' to return to the campaign builder, then click the green 'Save' button at the bottom of the screen.
- From the Campaigns tab, run the campaign by clicking the "play" icon to the right of the campaign name. As soon as the campaign goes into the Active state, your embedded form should appear within your web page.